When I created my little website, my plan was to share simple sewing and quilting tutorials, with an occasional recipe – once or twice a month. I wasn’t sure where it would lead, but I’ve enjoyed every minute. Forty (40) blog posts later, it has been almost two (2) years now! And I recently realized it has been three (3) months since I have written anything! A lot has happened in these past couple months!

- I’ve expanded my sewing skills a bit, with the newest being “starch appliqué”. And I can’t wait to share my first project. I took a multi-session class to learn the technique, plus many other great quilting tips. The instructor, my friend Carol Shriver, is teaching her “starch appliqué” technique at this summer’s Quilters Gathering in Berlin. The quilt I am making has a large center of beautifully curated half-square triangles, surrounded by a border of 24 “starch appliqué” flower blocks, which are then hand stitched. I am now in the process of machine quilting each of the 24 blocks with embroidery thread, to be followed by machine quilting of the entire quilt. A really big project for me!
- I continue to enjoy hand embroidery. I’ve learned so much from Jennifer Reynolds of Elefantz – from embroidery to appliqué to simply enjoying life! And I recently started following Mary Corbet of NeedlenThread; she is a wealth of hand embroidery knowledge!
- I opened an ETSY shop! You can find it here at SKYQUILTER.etsy.com. You can also get to it from my PRETTY THINGS FOR SALE page. So far I have sold twenty (20) pieces of “modern and vintage fabric art”! I don’t ever plan to mass produce anything, but I do love sharing my little creations with others.
- And I am quite excited to share that I am going to give TEACHING a try! I met a young entrepreneur, the owner of the brick & mortar Pindrop Shop and a thriving ETSY business, specializing in the most beautiful hand-spun and hand-dyed yarns I have ever seen! She also has a growing collection of specialty sewing and quilting fabrics / notions. Her shop is host to many different types of classes, including knitting and crochet. I am helping her teach some “beginning” sewing and quilting classes! Who would have ever thought!
When I talked to my financial planner about retiring, in addition to helping me with finances, he told me that retirement is much more enjoyable for people with hobbies. Little did he, or I, know how my hobby of sewing and quilting would grow!
So… this weekend instead of working on one of my many projects-in-progress, I decided to tackle a pair of shorts I recently purchased. Not sure what I was thinking when I bought them – you know, the jeans made to look old with holes in them… When I checked out at the register, the cashier, about my age, looked at me and told me she had not ventured “there” yet. We both laughed…!


Soon after trying them on at home, I decided they would need “dressed up” a bit. You may have seen one of my posts from 2019 – Happy Jeans. I embellished a favorite pair of jeans by appliquéing cutouts from vintage tablecloths. I still love them! This time, I would do a bit of embellishing, but also a little “cover up”.
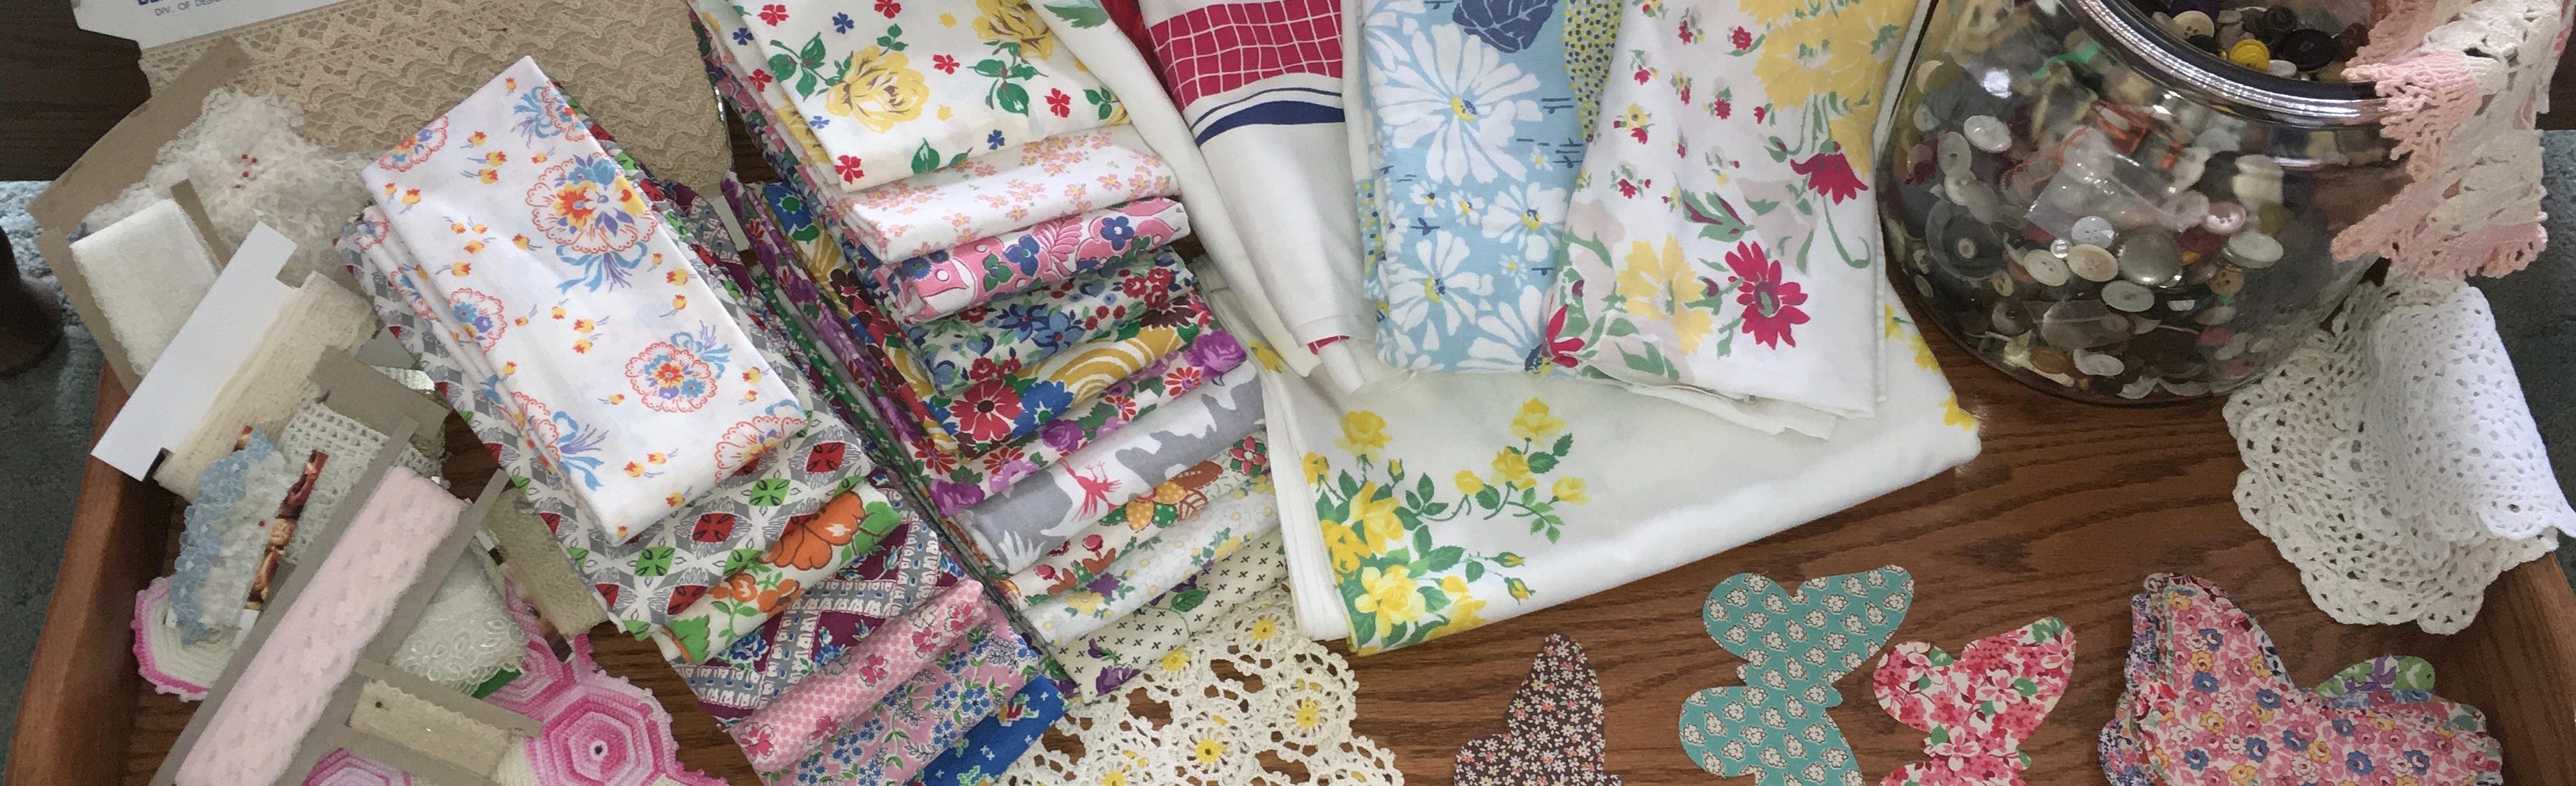
I have plenty of vintage fabric to choose from – 50’s/60’s tablecloths, 30’s-50’s feed sacks, flea market finds from many decades…


And I also save pretty much every scrap of fabric I cut. These were left over from the Wilendur purses I recently made – If it is not sold yet, you’ll find one in my Etsy shop! The left over scraps already had some Pellon 987 Fusible Fleece interfacing, making them nice and sturdy, so I chose the darker green.


First hole… I cut my scrap fabric to the size square I needed, turned my shorts inside out, placed it under the hole, and stitched with a cute “hand-sewn look” stitch on my Babylock machine.


Second hole… I cut my scrap fabric to a more irregular shape matching the hole, and followed the same procedure. For effect, I cut a few of the white jean threads so the green would show through better.


Now on to an easy embellishment for back pockets! First I used Pellon 830 Easy Pattern paper to trace the inside of the back pockets, inside the stitch. They were slightly different, so I labeled them.


I pinned the pattern paper pieces to the wrong side of my chosen fabric – two cute vintage small prints. I used my rotary cutter to cut them. These were plain fabric pieces, no interface needed.


Now to attach to the pockets… I used a blanket stitch on my machine to attach the sides and bottoms – using polyester decor thread. And then hand stitched the tops with 3-strands of cotton embroidery thread, leaving the pockets open.


Next, I decided to correct an issue that bothered me. The shorts came with cuffs that did not want to stay put. So I fixed that by stitching the cuffs with that “hand-sewn look” stitch.

Sorry, not modeling; still wondering “what was I thinking”…!
