
Got fabric scraps? Make postcards! This is a fun little sewing project that can be done by machine or hand; I have to admit I’m still experimenting. But there is no absolute right or wrong way to do.
These little works of art can be made from orphan quilt blocks, vintage fabrics, denim – just about any fabric. They would make nice little postcards to send to distant relatives or friends, loved ones in nursing homes, penpals, anyone! My goal is to make one for each upcoming holiday to send to my grandson. Hopefully my minimalist son and daughter-in-law will save them! Gotta love ’em, those minimalists! Take a look at what I have made so far…


As you can see, my finished products definitely look handmade! But I don’t want them to look purchased! Let me share with you a simple process I am using to make these. And also what I’ve learned so far…
Materials needed:
- 1 piece of fabric 4″ x 6″ (front layer) * see notes below
- 1 piece of card stock 4″ x 6″ (middle layer) ** see notes below
- 1 piece of plain light colored fabric 4″ x 6″ (back layer)
- 1 small fussy cut piece of fabric approximately 1″ x 1″ to be used as a “fake” stamp
- 2 pieces of Pellon 987F fusible fleece 4″ x 6″ (or comparable brand)
- Scotch Permanent Glue Stick (or other comparable brand)
- matching thread for machine or hand stitching
- IDENTI PEN (or other 1.0mm permanent fabric pen)
- sewing machine (optional)
* Regarding the front layer, this could be one fussy cut 4″ x 6″ piece of fabric. Or it could be a little 4″ x 6″ piece of fabric artwork – boro, quilt block, appliqué, you name it!
** Using the same color card stock that you plan to use for the thread edging (satin stitch or blanket stitch) will make the card stock less noticeable in your finished postcard. Instead of card stock, you might want to try using a firm stabilizer such as Pellon Peltex.
Let’s make a postcard!
Middle Layer
Your postcard could really be any size. I chose mine to be 4″ x 6″. First cut the card stock. I had green 8.5″ x 11″ card stock on hand. But 12″ x 12″ scrap book card stock would be a more efficient option for 4″ x 6″ postcards.

Back Layer
Next, cut the backing fabric. You’ll want a fairly light colored fabric for the back so you’ll be able to write on it. Attach a piece of fusible fleece to the wrong side of the fabric. Stitch a vertical line down the middle, separating where the message and the “address” can be written. Stitch the “fake” stamp in place with a straight or small zigzag stitch. Simulate a “postage stamp cancellation” by stitching 3 serpentine stitches in the upper right corner, partially covering the stamp. Using a fabric pen, hand write a postmark in between the serpentine stitches (month and year). Alternatively, these stitches could be done by hand. Lastly, use a fabric pen to write a message on the left, and the “address” on the right. I am mailing my cards in an envelope to be kept as keepsakes. But I am told these little fabric postcards can actually be mailed as is. Check with the post office for the appropriate amount of postage stamps to be used instead of the “fake” stamp – and let them do the postmark!


Front Layer
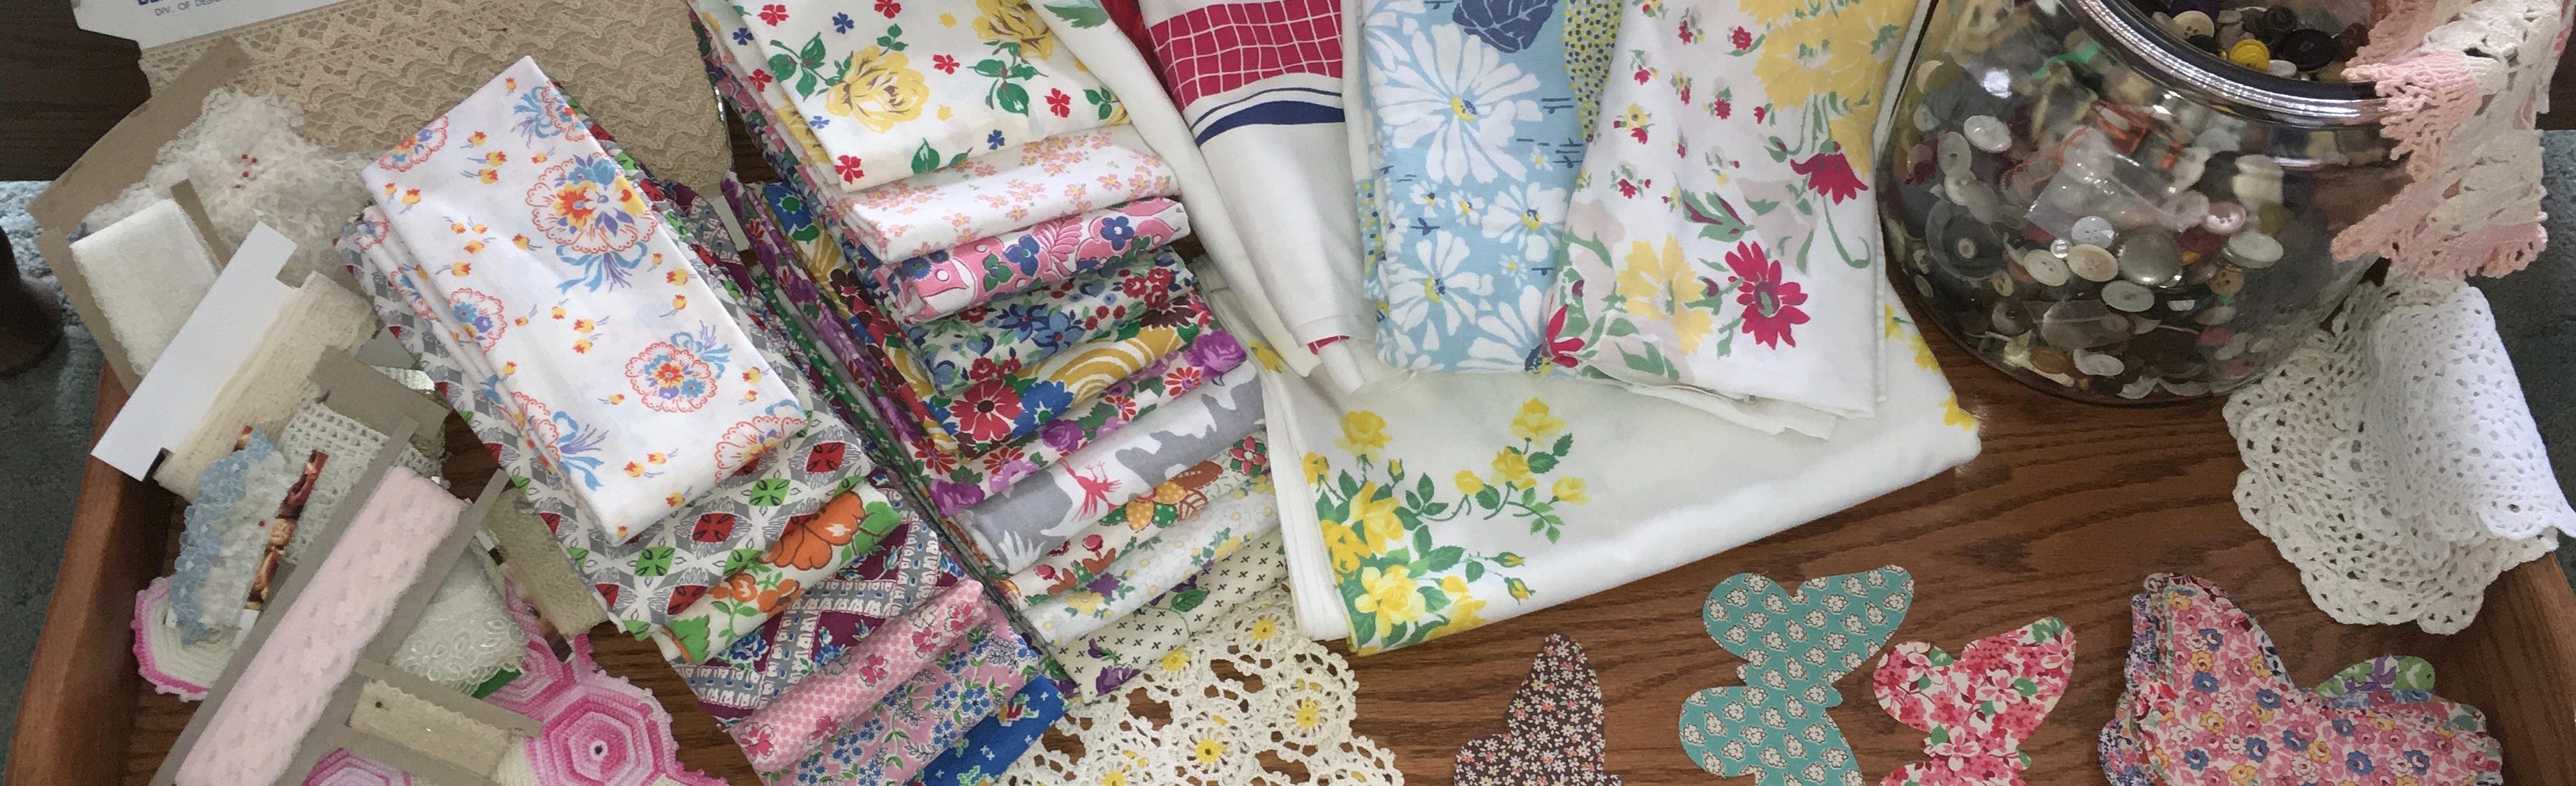
Gather some fun fabrics to choose from for this layer. For this Christmas postcard, I am using these cute vintage fabrics, probably from the 70’s, 80’s or 90’s.


If using a fussy cut piece of fabric, simply attach the remaining piece of fusible fleece to the wrong side. If using a quilt block, appliqué, or other piece of art, cut it down to 4″ x 6″, and then attach the fusible fleece. Quilting is not necessary, but it does add a nice dimension – machine or by hand. For this postcard I decided to do some free motion “echo” quilting around the Santa, sleigh and rabbit.


Combining the Layers
Apply about 3 lines of glue to one side of the card stock. Attach it to the wrong side of the back fabric. Apply about 3 lines of glue to the other side of the card stock. Attach to the wrong side of the front fabric.


Allow to set up a few minutes. Next decide how you want to do the edges of your postcard. I used a tight satin stitch. A blanket or whip stitch could also be used. And once again, these stitches could be done by hand.
And your handmade fabric postcard is finished! I hope you have as much fun making these as I am.
