These past couple of months I’ve had the honor and privilege to complete a quilt that was started a long time ago. Ten (10) Dresden Plates – beautiful feed sack fabric, vibrant colors, machine pieced, hand basted. Ready to appliqué. And then set aside for many years. These belonged to a-friend-of-a-friend. I was reluctant to take on such an important project, but now, I am so glad I did!


You may ask, what is a “Dresden Plate”? I found a couple great resources online.
From the Sauder Village website –
Making its debut in the 1920s, the Dresden plate quilt block was first published as a pattern in the 1930s. These quilts are typically easy to date because of the traditional floral prints of the time and are often made of feed sacks. This pattern consists of a flower-like plate that is pieced and then appliqued to a solid, often white background. During the Great Depression, feed sacks, used for holding grain and seeds, started to be manufactured with prints, and women would often request that their husbands return home with matching sacks. Women would use these floral cloth sacks to make clothes for themselves and their children and the scraps would be made into quilts.
Next from the website of Rona the Ribbiter. She gives a great explanation on the history of Dresden in northeast Germany and beautiful Dresden porcelain.
If you look at the images of Dresden porcelain plates, it might be difficult to discern right away how these incredible works of art were somehow turned into the world famous quilt blocks we know of today. This would be because the Dresden Plate quilt block has nothing to do with the delicate paintings on the top of these porcelain plates. Instead, they have everything to do with what’s painted on the bottom.
And one more, from Sedef of Down Grapevine Lane –
I am very fond of historical trivia, so as I was piecing the Dresden plate together I was curious as to why it was called that, so I googled it. It turns out it is named after the town of Dresden in Germany, which became famous in the Victorian Era with its fine decoration of porcelain plates with colourful flowers, fruits, and foliage. The ‘Dresden plate’ became a very popular quilt pattern in the 1920s and 30s, a time when Dresden porcelain was also hugely sought after. The pattern is called by other names as well, including Grandmother’s Sunburst, Friendship Ring, Aster, Dahlia and Sunflower, though these are rarely used these days. So, there you go, a small piece of quilting history for you.
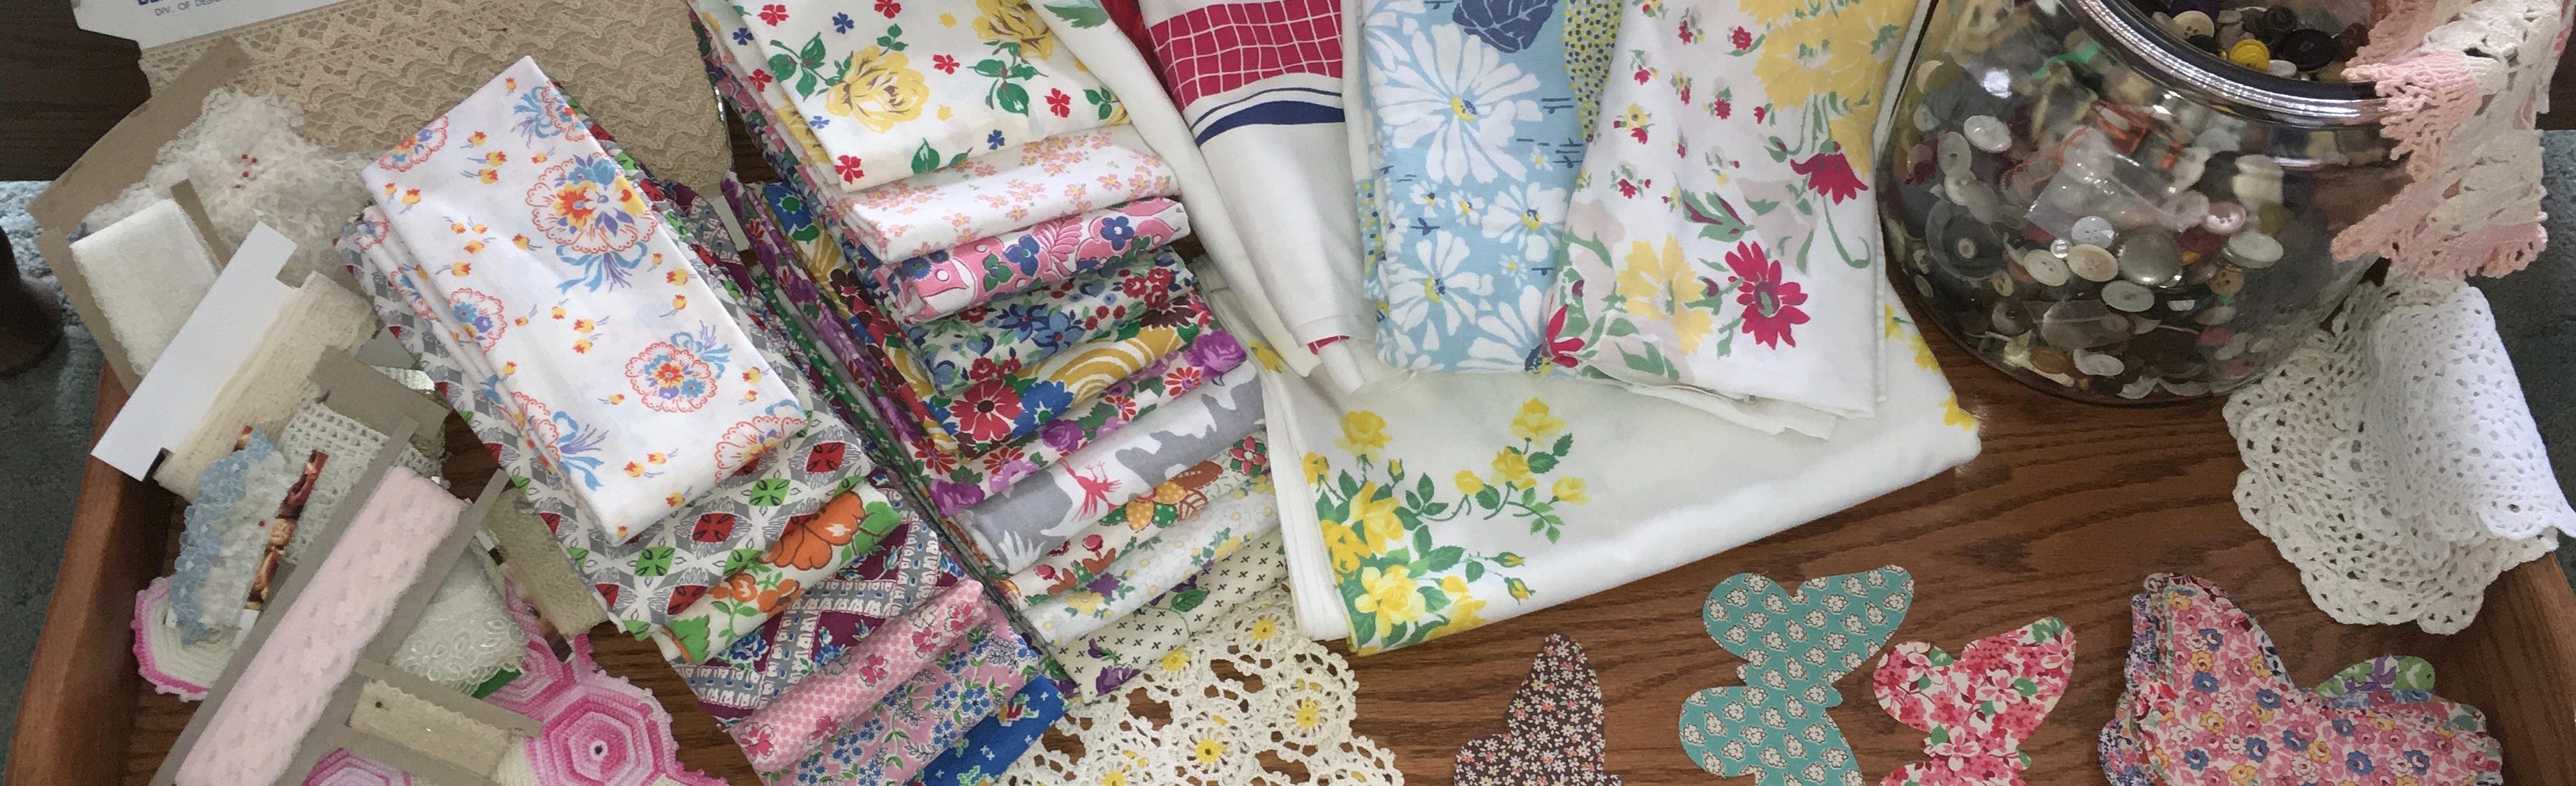
I have a substantial collection of vintage fabrics –
- table linens from the 30’s, 40’s, 50’s and 60’s, with Wilendur being my favorite
- quilt fabric from the 70’s to the present
- mid-century barkcloth from the 40’s, 50’s and 60’s
- vintage quilts in need of repair
- vintage quilt blocks
- hand made embroideries, dresser scarves and such
- doilies
- antique lace
- buttons (lots of buttons!)
- vintage sewing notions
- and feed sack fabric!
I’m really not sure what started my fascination with the above, but feed sack fabric really started it all. If you are not familiar with feed sacks, here are a couple interesting links.
- This article is from Mable & Ethel of the M&E Quilt Shop.
- This one is from Womenfolk.
- And one more from Piecework.
I am not knowledgeable enough (yet!) to know the exact dates of my own feed sack fabric; they could be from the 1920’s up thru the 1950’s. I have a couple dozen still intact feed sacks. And also quite a bit of feed sack yardage, fabric that was never made into a feed sack. I’ve been quite stingy with actually using this fabric – saving it for worthy projects, and for when I am skilled enough to use it.


So let’s get back to this recently completed Dresden Plate quilt! Taking on this project forced me to go through my personal vintage collections, pull out a couple things, and practice! I had some very similar Dresden Plates, not feed sack fabric, but pretty old, hand-sewn and hand-basted. I soaked them in Retro Clean, pressed them, and then machine appliquéd three of them to some cotton ticking using a blanket stitch. I used several vintage doilies as the centers. My confidence was now ready to tackle the ten (10) feed sack Dresden Plates!


The first task was to give these Dresden Plates a bath! There were a couple troubling stains that I hoped I could remove. You’ll notice in the before and after pictures, one small stain remained, the one circled in green. But the major stains were gone! The colors seemed brighter, and the whites, whiter!


Next, I needed to make a final decision on the layout of the quilt, and the fabric I would need to purchase. My usual is to pull out some graph paper and start playing. Hmmm… ten (10) Dresden Plates… I came up with this layout, using three (3) rows of three (3), and quartering the final Dresden for the corners. The owner of the Dresden Plates indicated she liked bright colors. I chose some bright coordinating solid quilting fabrics for the sashings, corner stones and binding – in colors that matched some of the wonderful colors in the feed sacks – red, blue, green, pink, copper and yellow. My habit when using strong colors (especially red) with white fabric is to prewash all the fabric to be used for a quilt. I used a pinking edge on my rotary cutter on all the cut edges. I prewashed the whites separately. And then washed the colored fabrics with a couple of Color Catchers. I used cold water on a delicate cycle for both loads. As I predicted the red bled onto the Color Catchers.

With my layout finalized, I began to get the Dresden Plates appliquéd to white squares of fabric. First, I measured and pinned them to the center of the white squares. One section at a time, I snipped the original outer basting stitches, removing them with tweezers, and then blanket stitched in place using white thread.


Now to do the centers of the Dresden Plates. I decided to cover the centers with colorful circles. After deciding on the size, I drew the circles on the paper side of freezer paper using the Clover 5-in-1 Sliding Gauge tool. After cutting out the circles and pressing the shiny side to the back of my fabric, I cut out the fabric circles, slightly larger than the paper. Using the starch method, I turned under the excess fabric, and then pinned them to the Dresden Plates. The circles were then blanket stitched with matching thread.


Next steps – adding the sashing and cornerstone fabric, a wide white border, the “quartered” tenth Dresden Plate and lastly a narrow yellow border. I have a general tutorial for piecing a quilt; you can find it here.


And now the real fun begins – quilting! First to sandwich the quilt top with a white backing (that had been prewashed) and cotton batting. Next to baste with quilting pins.


For each Dresden Plate block, I did the following quilting –
- Using a plastic stencil and a lite pencil, I drew a simple flower design in the center circle. This was quilted using matching thread.
- Using white thread, I echo quilted just outside the center circle.
- Continuing with white thread, I echo quilted inside each section of the Dresden Plate.
- And then echo quilted just outside the entire Dresden Plate.
- For the remaining white space within the block, I quilted dense stippling with my goal to make the Dresden Plates pop!
- Lastly, I echo stitched around the edge of the entire 16″ square block.


The four “quartered” Dresden Plates were quilted the same as the rest of the Dresden Plates.
I did not do any quilting on the copper sashing, but did quilt a small square inside each yellow cornerstone using yellow thread.
For the wide white border, I used the same plastic template, sometimes drawing the whole flower, and sometimes drawing a half flower on the edges of the border. I used Clover’s Purple Air Erasable Marker. These were quilted using white thread.


And finally, I stitched just inside the edge of the narrow yellow border. I have a tutorial with quilting tips here.
On to the binding! I used the bright colors of the Dresden Plate centers to create a multi-colored binding. Each 2.5″ strip was cut into 10″ lengths, and sewn together. As is my usual, I machine stitched the binding to the quilt top, and then machine stitched to the back, encasing a label into the binding. You can find my tutorial on the binding method I use here. And a tutorial for an easy way to incorporate a label into your quilt here.


With few exceptions, I machine wash my completed quilts. I use cold water on a delicate cycle, a small amount of unscented detergent, and a Color Catcher or two. Always leary of red fabric, I am always relieved when the Color Catchers show no signs of color! I partially machine dried this quilt on low heat, and then finished drying on the line. It was a perfect day for line drying – and a photo shoot!

The Dresden Plate is my favorite quilt block. I made one almost 40 year’s ago. All hand sewn by my grandma’s request, she was an awesome quilter. I’ll have to send you a picture. Was so nice to read this blog and learn the history behind the block. Now I have to look up more history and I have to see the plates.