A while back I purchased a couple cute bibs as a gift for a new Mom. I took a good look at them, and realized – “I could make these!” After several iterations, I’ve come up with an easy FREE pattern to share with you. Click here to print a copy!


For two bibs, you’ll need –
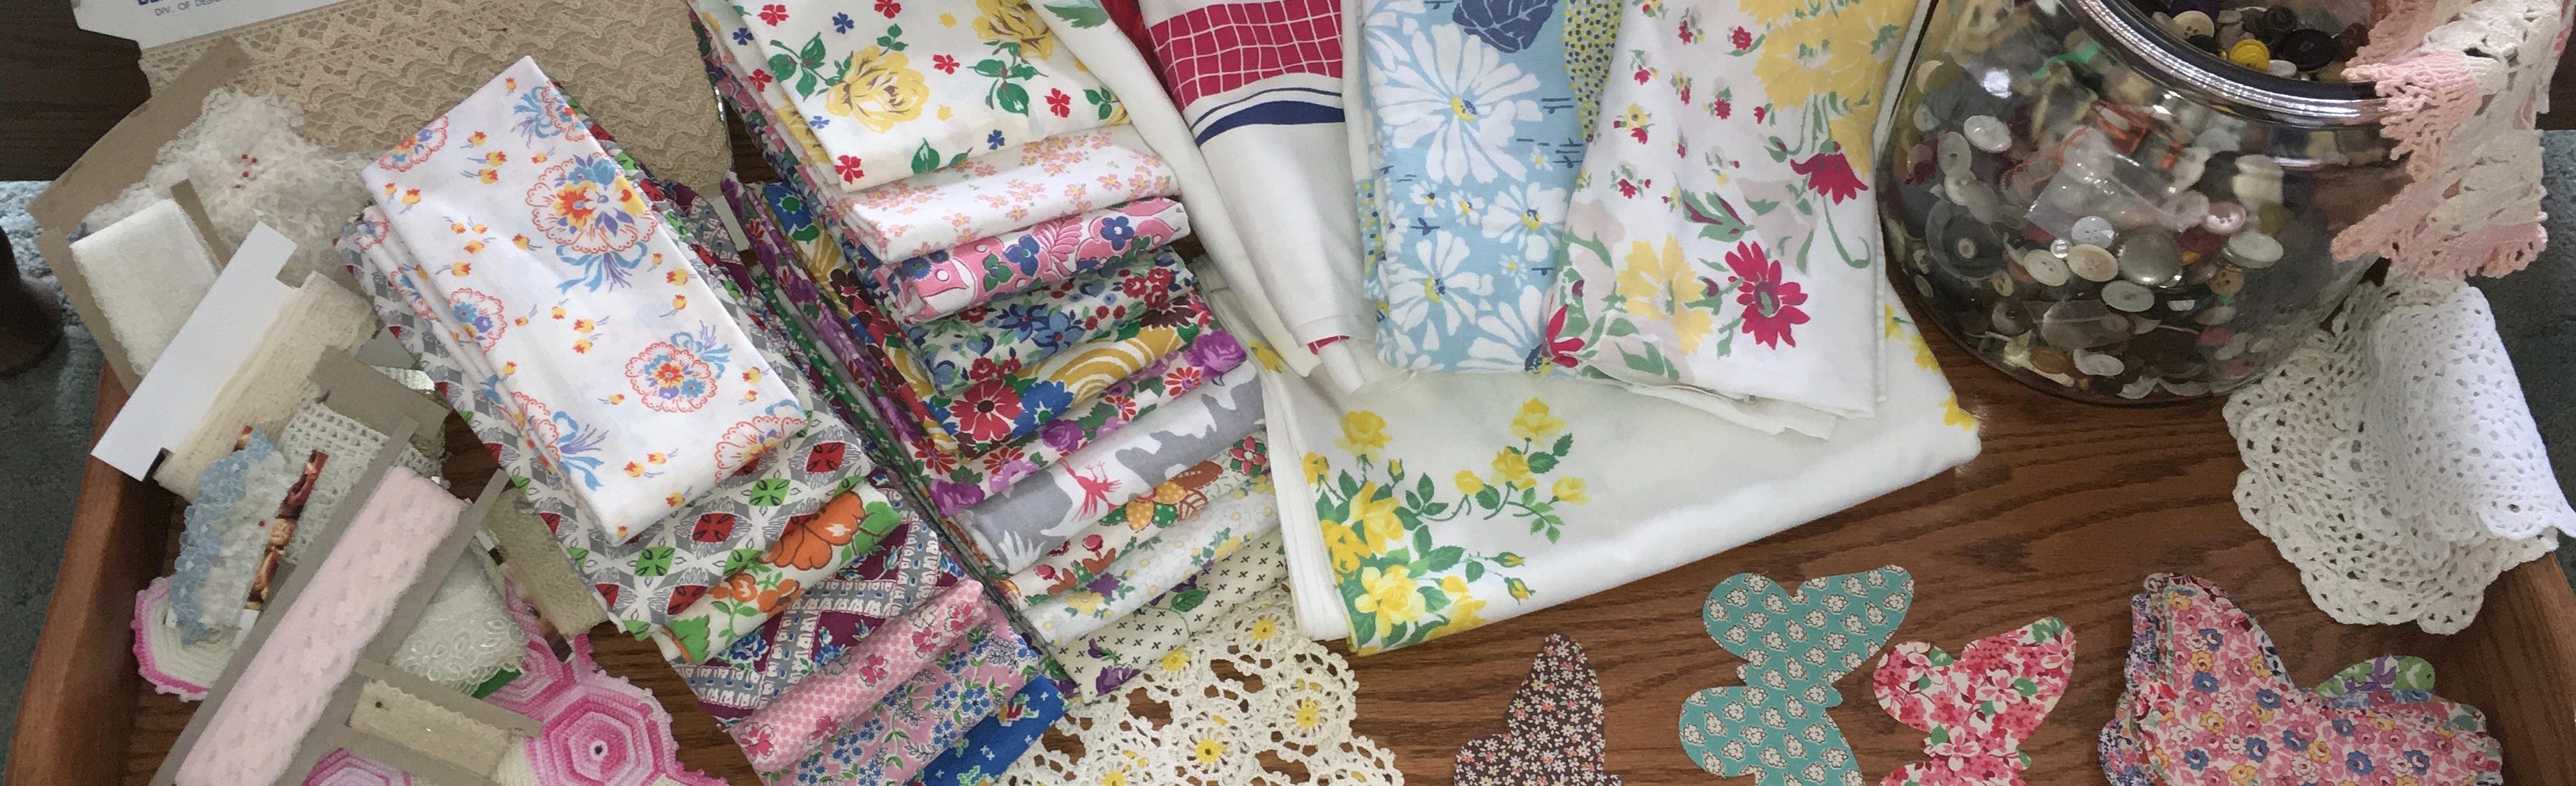
- 13″ square of fabric for the front (quilting cotton, soft denim, flannel – I used a light weight grey sweatshirt fabric)
- 14″ square of fabric for the back (flannel, terry cloth – I used a soft white French terry fabric)
- fasteners (Velcro, snaps, snaps with a snap press – I used sew-in snaps)
- and optionally – cotton webbing, interfacing
If you have chosen to use stretchy fabrics, you might want to consider stabilizing one or both of them. I used a light weight woven interface, Pellon Shape Flex SF101 on both the front and back fabrics.

Keep in mind, your bibs will be reversible, so you’ll want to choose 2 nice soft fabrics. Also important – bibs get dirty and are washed often! Fancy bibs will not get used! Keep them simple and focus on durability.
If you wish to put a quilting or embroidery motif on your bib front, you can do that first before you proceed, or you can do after your bibs have been constructed. By all means, you can also leave plain, allowing a pretty fabric to be the star!
I traced designs from quilt stencils and then did some simple free motion quilting on one set – after construction of the bibs.

I did machine embroidery on another set. This adorable pumpkin design is from the Fall 2020 edition of Creative Machine Embroidery. The embroidery was done twice, in the hoop, on the 13″ square of fabric chosen for the front of the bib – prior to construction of the bibs.

Let’s get started!
- Place the 14″ square of fabric you have chosen for the back of the bibs face up on a table.
- Place the 13″ square of fabric you have chosen for the front of the bibs, centered, face down on top of the 14″ square. They are now right sides together (RST).
- Pin.
- Using a ruler, draw a line from one corner to the opposite corner of the 13″ square of fabric.
- Draw 2 lines, each 1/4″ on each side of the first line you drew.
- Draw a line 3/8″ from the edge around the perimeter of the 13″ square of fabric, starting and stopping where you drew the 1/4″ lines from the center line.

*** Note in the above photo, after pinning and marking, I decided to add a layer of Pellon Shape Flex SF101 to the back of the embroidered bib fronts. Because I could still see my markings, I did not mark again.
- Choosing a needle and thread appropriate for your chosen fabrics, stitch on the perimeter lines, and on the 2 lines that are 1/4″ from the center. Leave a 3″ gap for turning on one side of each triangle. Be sure to backstitch on all starts / stops. I used a Schmetz Stretch 12/80 needle, 30-weight Coats & Clark cotton thread and my walking foot.
- Using a ruler and a rotary cutter, trim the 14″ square back fabric to match the 13″ square front fabric. It is easier to line up the 2 fabrics after stitching.
- Using a ruler and a rotary cutter, cut on the middle line, between the 2 stitched lines. You now have 2 triangles.


- Clip the 3 corners on each triangle.
- Turn the triangles right side out, gently pressing out the sides and corners.
- Press.


- Starting on the side with the opening, stitch around the entire perimeter, close to the edge, closing the gaps – on each triangle.
- For a nice clean, flat edge, sew a zigzag stitch around the perimeter, just inside the straight stitch. I used a zigzag stitch with a width of 4mm and a length of 2mm.

- You are now ready to add the fastener of your choice. I will describe the process I used for the sew-in snaps. You will need 2 snap “sets” for each bib.

- Hand sew 1 “ball” part of a snap to the center of a 1″ x 1″ piece of cotton webbing.
- Hand sew 2 “socket” parts of 2 snaps to a 2″ x 1″ piece of cotton webbing. Space these 2 about an inch apart, not quite at the ends of the 2″ piece of webbing. Note, you will not be using 1 of the “ball” parts of the 2 snaps; this allows the bib to be used as the infant grows!
- With the bib top face up, use a small zigzag machine stitch to sew the 2″ x 1″ cotton webbing on the top right corner of the front of the bib. I used a zigzag stitch with a width of 2mm and a length of 1.2mm. Sew around the cotton webbing twice.
- With the bib top face down, use the same size zigzag stitch to sew the 1″ x 1″ cotton webbing on the top right corner of the back of the bib. Sew around the cotton webbing twice.


Your “Reversible Infant Bibs” are done!

For a FREE copy of my “Reversible Infant Bibs” pattern, click here. Experiment with different fabrics, decorations and fasteners! I would love to see your bib creations on Instagram or Facebook!
Enjoy your posts.
Thanks! I enjoy writing, almost as much as sewing!