Do you have a collection of small embroideries? Or maybe mini-quilts? You could try to display them all, or incorporate them into a big quilt. But maybe you don’t have the wall space. How about a dynamic, changeable wall hanging?

I completed a year-long series of embroideries designed by Jenny of Elefantz Designs. I have literally learned to do hand embroidery from a woman I’ve never met, who lives in Australia! Her designs are so cute, and her instructions are easy to follow.
I’ve been posting pictures, monthly on Instagram, showcasing my new found embroidery hobby. Follow me on Instagram to check them out! I am finally ready to display them in my home! Let me show you what I did.
First I’ll share with you how to prepare your embroideries or small quilts. You’ll want to do this first, so you’ll know how big to make your quilted frame.
I pressed my embroidery on my wool mat, and trimmed it to 8×9 inches. (Your size will vary.) After fusing an 8×9 inch rectangle of Pellon 987F Fusible Fleece to the back, I used a Clover Hera Marker to mark grid lines, 1/2 inch apart. Using an open toe foot, a Schmetz 75/11 Stretch Needle, and light presser foot pressure, I stitched on the lines just up to my hand embroidery stitches. Note, I am quilting only the embroidery fabric and the fusible fleece; the back is not attached yet.

I cut an 8×9 inch piece of fabric for the back. I am going to attach 4 small pieces of sew-in Velcro loop (fuzzy side) to this fabric, so I drew lines 1/2 inch from the 4 corners of the front side of the backing fabric. I used these lines to place my Velcro loop (fuzzy side), then stitched in place. We’ll use the sew-in Velcro hook (rough side) pieces on the quilted frame. Next, lay the quilted embroidery (front side face up), and top with the backing fabric (front side with Velcro face down). Stitch around the perimeter, 1/4 inch from the edges, leaving 2-3 inches unstitched on the bottom of your embroidery or small quilt. Be sure to tack your beginning and ending stitch. Carefully turn your piece right side out; you don’t want to damage your embroidery! Gently push the corners out. Lightly press again, on a wool mat. Hand sew the 2-3 inches left open for turning.


My first (of 12) embroideries is ready to go. I will repeat these steps for the other 11. Now, let’s move on to the wall hanging quilted frame for these lovelies!
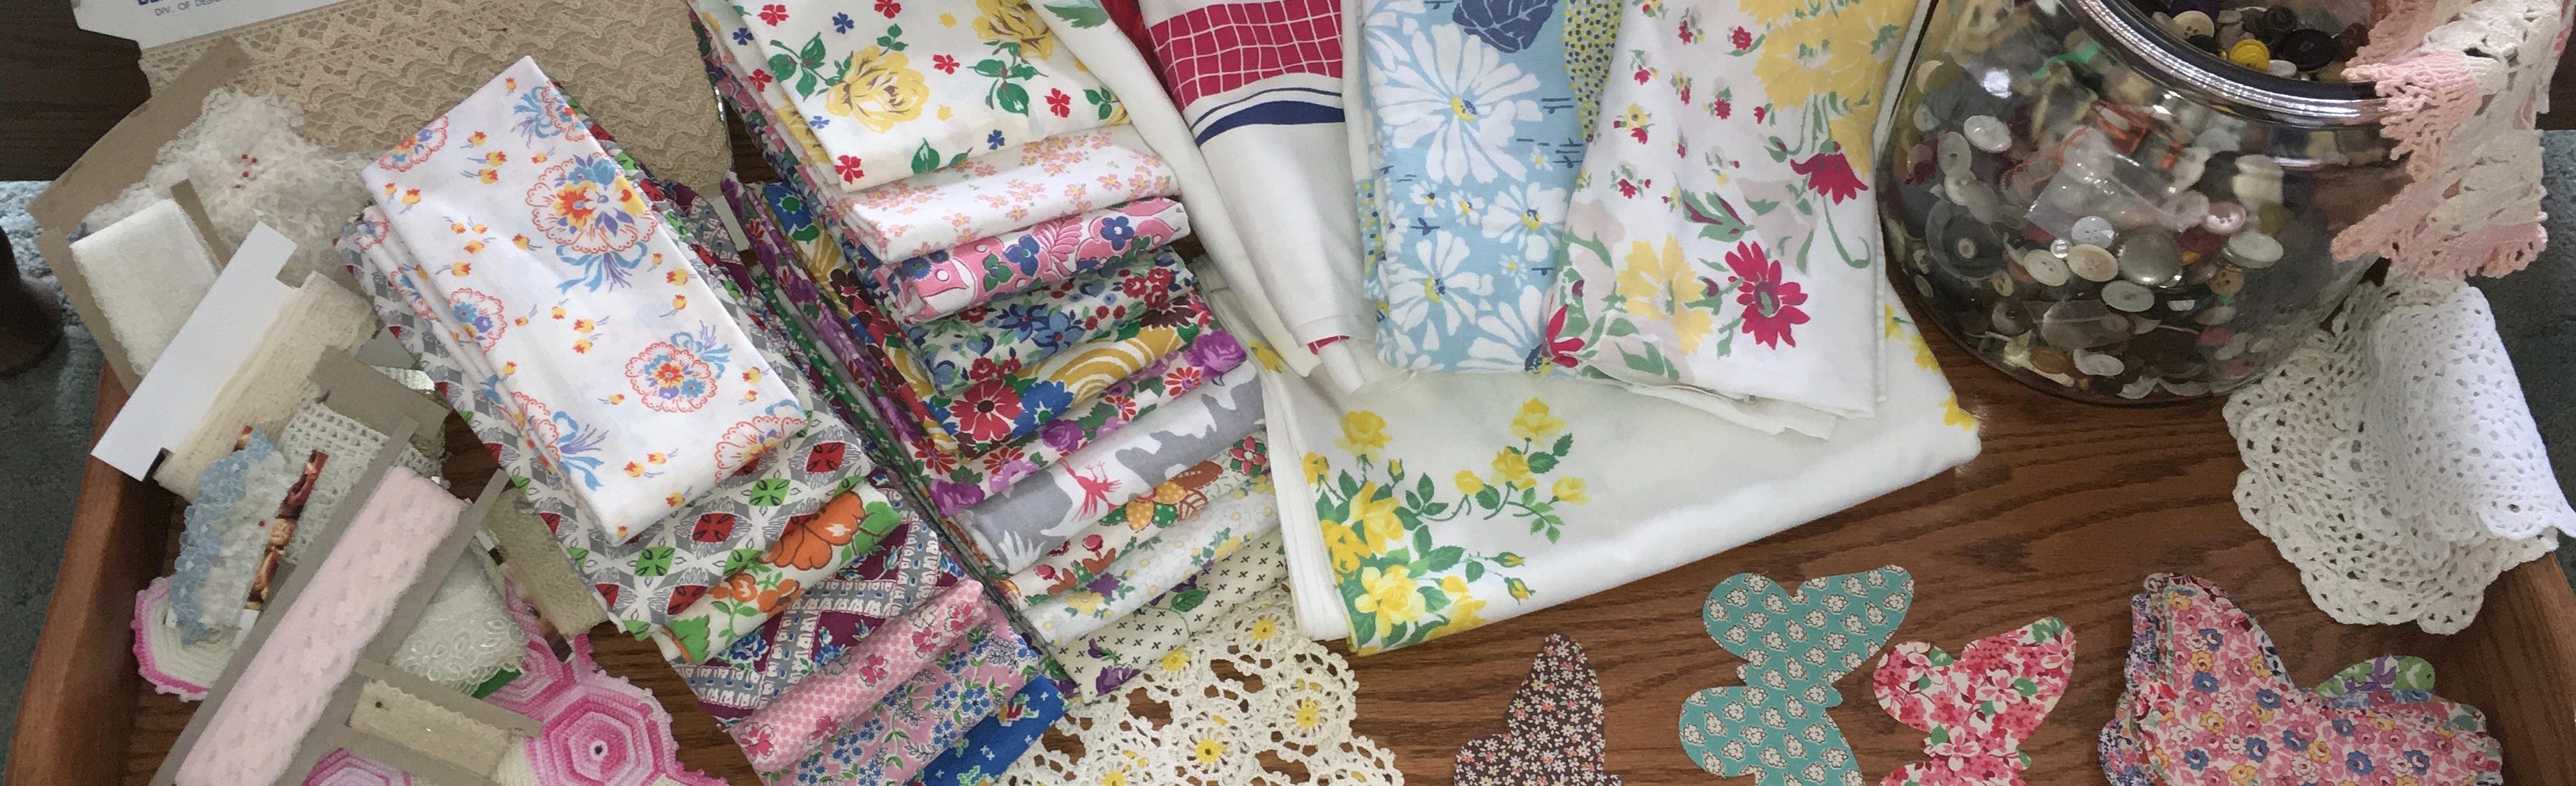
I chose 2 fabrics that coordinated with the colors of my embroideries, and a light tan fabric for the base, outside border and binding. Based on my 8×9 inch embroideries (which are now 7-1/2 x 8-1/2 inches), I cut the following –
- (4) 1-1/2 inch WOF (width of fabric) strips of the light fabric
- (5) 1-1/2 inch WOF (width of fabric) strips of the dark fabric
- (1) 8×9 inch rectangle of tan fabric for the base.
- (2) 1-1/2 inch WOF (width of fabric) strips of tan fabric for the outside border
- (3) 2-1/2 inch WOF (width of fabric) strips of tan fabric for the binding
- (1) 18×19 inch rectangle of tan fabric for the back
- (1) 18×19 inch rectangle of batting
Using a 1/4 inch seam, I made 2 dark/light/dark WOF strips, and 1 light/dark/light WOF strip. I pressed the seams toward the dark fabric.

Sub-cut these WOF strips as follows –
- (8) 1-1/2 inch light/dark/light cuts for the nine-patch corners
- (4) 1-1/2 inch dark/light/dark cuts for the nine-patch corners
- (2) 8 inch dark/light/dark cuts for the top & bottom
- (2) 10 inch dark/light/dark cuts for the sides (you’ll trim these after attaching)
Attach the 10 inch strips to the sides the 8×9 inch base. Trim even with your 9 inch base fabric.

Combine 2 of the light/dark/light 1-1/2 inch pieces with 1 of the dark/light/dark 1-1/2 inch pieces, to make a nine-patch corner. Repeat to make 4 of these. Carefully line up the seams!

Sew a nine-patch corner to each end of an 8 inch dark/light/dark strip. Repeat to make 2 of these. Attach to the top and bottom of the base. Once again, line up the seams! When joining more than one seam, I always use pins, one before the seam and one after. I usually use smaller pins…!


Add the 1-1/2 inch width tan strips for the outside border, and the top is complete and ready to quilt. You can find my basic quilting instructions here.


After quilting, use the 2-1/2 inch width tan strips to make the binding. You can find my quilt binding instructions here. Attach the binding to the front of your quilt frame. Before attaching to the back, add a sleeve and a label.


The last step will be to attach the sew-in Velcro hook (rough side) pieces. I chose to do this through all the quilt sandwich layers (top, batting, back) so they would be more secure. Place them 1/4 inch in from each of the 4 corners to line up with the sew-in Velcro loop (fuzzy side) pieces you previously attached to your embroidery or small quilt.


I love my new little quilt frame, and I’ll get to enjoy my embroideries all year long!
This is so cute. I will have to make me one as I love to do small embroidery projects, and I love Jenny’s embroidery.
Thanks! Yes, Jenny’s embroidery patterns are adorable!