
We all have that favorite pair of jeans. The comfy ones you wear most often. Well, mine got a bit of paint on them recently. I could have just torn a few holes in them, and I would been right in style! But I had a different idea. I love vintage fabrics. And I especially love vintage tablecloths. Stay with me…!


Before I could begin to create my “Happy Jeans”, I needed to first remove the inside seam from each leg. This allows the jean fabric to lay flat while doing the appliqué. Admittedly, this was the worst part of the project. Not too difficult, but a little tedious. I chose to leave the very bottom of each leg’s seam intact, making it easier to sew them back together.
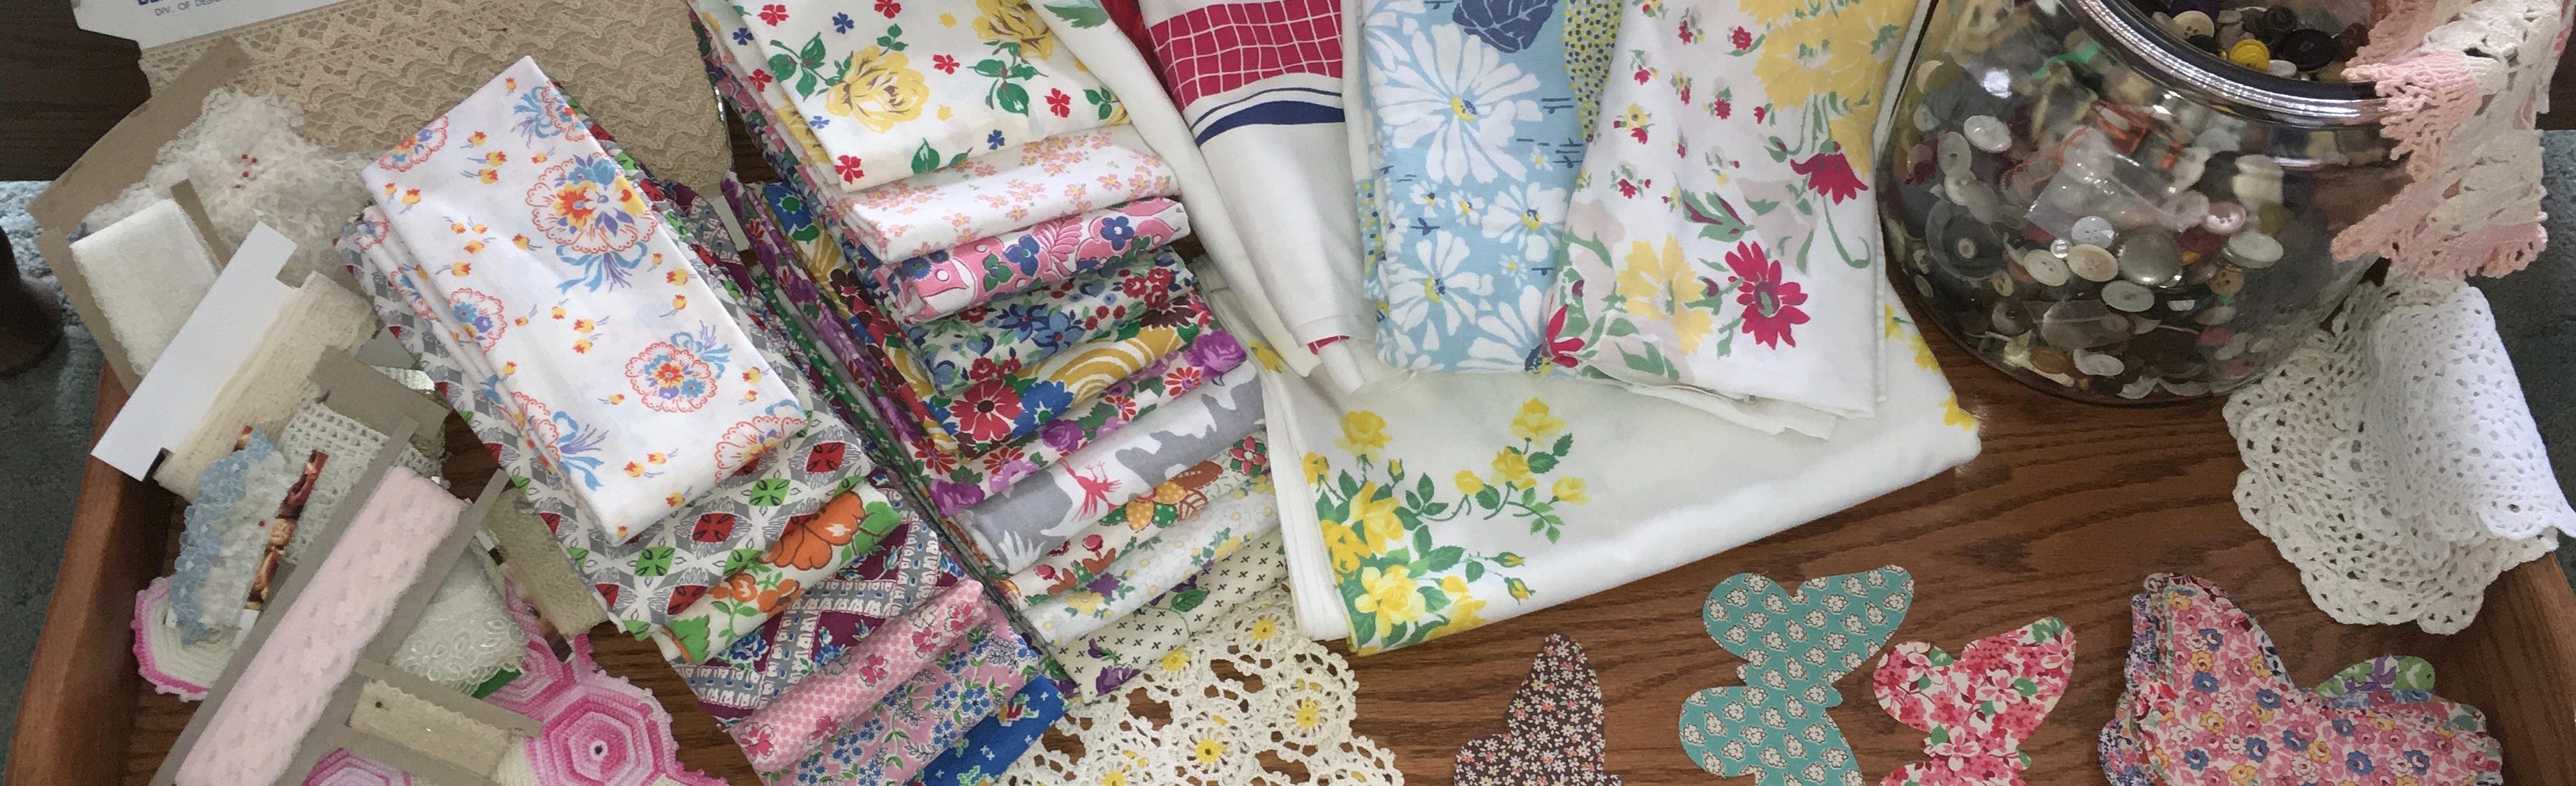
I have collected quite a few vintage tablecloths by visiting flea markets, antique malls and estate auctions. I picked out several I thought might work well with what I had in mind.

I cut sections from 4 of them, and then fused Pellon 805 Wonder-Under to the back of them. I was now ready to use pieces and parts from these sections of the tablecloths.


These are the gorgeous matching threads I chose for the machine appliqué – Coats & Clark 30 weight.

To start simple, I cut a pretty flower from one of the fabrics fused with Wonder-Under. The easiest way to remove the paper backing is to gently slice the paper with a seam ripper; the paper then pulls right off. Following the directions on the Wonder-Under, I fused this piece to my jeans. Next I used my sewing machine to appliqué using a simple blanket stitch.


To decorate the pockets, I used Pellon 830 Easy Pattern to trace the pockets. After fusing my fabric to the pockets, I blanket stitched (using my sewing machine) the sides and bottoms. But to keep the pockets available to use, I did a decorative stitch by hand across the tops.


I wanted to wrap some of my appliqué around the sides of the jeans. To do this, first I made sure the seam was flat on the back. Before doing the appliqué, I sewed a simple straight stitch on both sides of the jean seam to hold the appliqué in place.


The final touches were a few embellishments, including some hand embroidery.


The last step was to stitch the inseams back together. This was much easier than taking them apart!

“Happy Jeans” may not be for everyone, but I love mine!


Brilliant!
I’m glad you like!
Love your designed Jeans!!!! The instructions are so easy to follow!
And fun to make.
Love your jeans! You have a good eye for placement.
Thank you! They are fun to wear!